Terraform quickstart
This quickstart guide will help you get started with the bunny.net Terraform provider. Follow the steps below to set up and manage your Bunny.net resources using Terraform's infrastructure as code capabilities.
What you'll need
Before you dive in, make sure you have the following prerequisites in place:
- A bunny.net account ( Log in or sign up for a free trial).
- Terraform installed on your local machine.
- Your bunny.net API key (you can get it here).
Initializing a Terraform project
New project
To create a new project, open your terminal and execute the following commands to set up the basic project structure and configure the bunny.net provider:
mkdir my-terraform-project
cd my-terraform-project
cat > provider.tf <<EOF
terraform {
  required_providers {
    bunnynet = {
      source = "BunnyWay/bunnynet"
    }
  }
}

provider "bunnynet" {
  api_key = "api-key-goes-here"
}
EOF
Update the api_key with your actual API key in the configuration file, then initialize using the Terraform Init command.
Existing project
If you already have a Terraform project and want to integrate bunny.net:
- Open your existing provider.tf file.
- Add our bunny.net provider configuration:
terraform {
  required_providers {
    bunnynet = {
      source = "BunnyWay/bunnynet"
    }
  }
}

provider "bunnynet" {
  api_key = "api-key-goes-here"
}
Update the api_key with your actual API key in the configuration file, then initialize using the Terraform Init command.
Starting from our template project
You can use our template as a guide to start your own terraform project.
To use a predefined template project from bunny.net, execute:
git clone https://github.com/BunnyWay/terraform-provider-bunnynet-template.git my-terraform-project
cd my-terraform-project
Update the api_key with your actual API key in the configuration file, then initialize using the Terraform Init command.
Defining the resources
Once you have a Terraform project, you can start managing bunny.net resources with it. Add the following lines to your Terraform project, they represent a new Storage Zone with an index file and a CDN Pullzone connected to it.
resource "bunnynet_storage_zone" "test" {
 name = "my-project-name"
 zone_tier = "Edge"
 region = "DE"
}

resource "bunnynet_storage_file" "index" {
 zone = bunnynet_storage_zone.test.id
 path = "index.html"
 content = "<h1>Hello world!</h1><p>Greetings from Terraform via ${bunnynet_pullzone.test.name}.</p>"
}

resource "bunnynet_pullzone" "test" {
 name = bunnynet_storage_zone.test.name
 origin {
   type = "StorageZone"
   storagezone = bunnynet_storage_zone.test.id
 }
 routing {
   tier = "Standard"
 }
}
Don't forget to replace "my-project-name" with your actual project name.
Previewing and applying the changes
Run Terraform command Plan to preview the changes and Apply to make the changes.
$ terraform apply


Terraform used the selected providers to generate the following execution plan. Resource actions are indicated with the following symbols:
 + create


Terraform will perform the following actions:


 # bunnynet_pullzone.test will be created
 + resource "bunnynet_pullzone" "test" {
     + add_canonical_header                  = false
     + allow_referers                        = []
     + block_ips                             = []
   ...
   ...
   ...
   }


Plan: 3 to add, 0 to change, 0 to destroy.


Do you want to perform these actions?
 Terraform will perform the actions described above.
 Only 'yes' will be accepted to approve.


 Enter a value: yes


bunnynet_storage_zone.test: Creating...
bunnynet_storage_zone.test: Creation complete after 3s [name=my-project-name]
bunnynet_pullzone.test: Creating...
bunnynet_pullzone.test: Creation complete after 0s [name=my-project-name]
bunnynet_storage_file.index: Creating...
bunnynet_storage_file.index: Creation complete after 0s [id=2e08ee5c-caa2-4c9b-9d4d-d157d9c3915e]
Apply complete! Resources: 3 added, 0 changed, 0 destroyed.
Congratulations! You’ve successfully configured your bunny.net resources using Terraform.
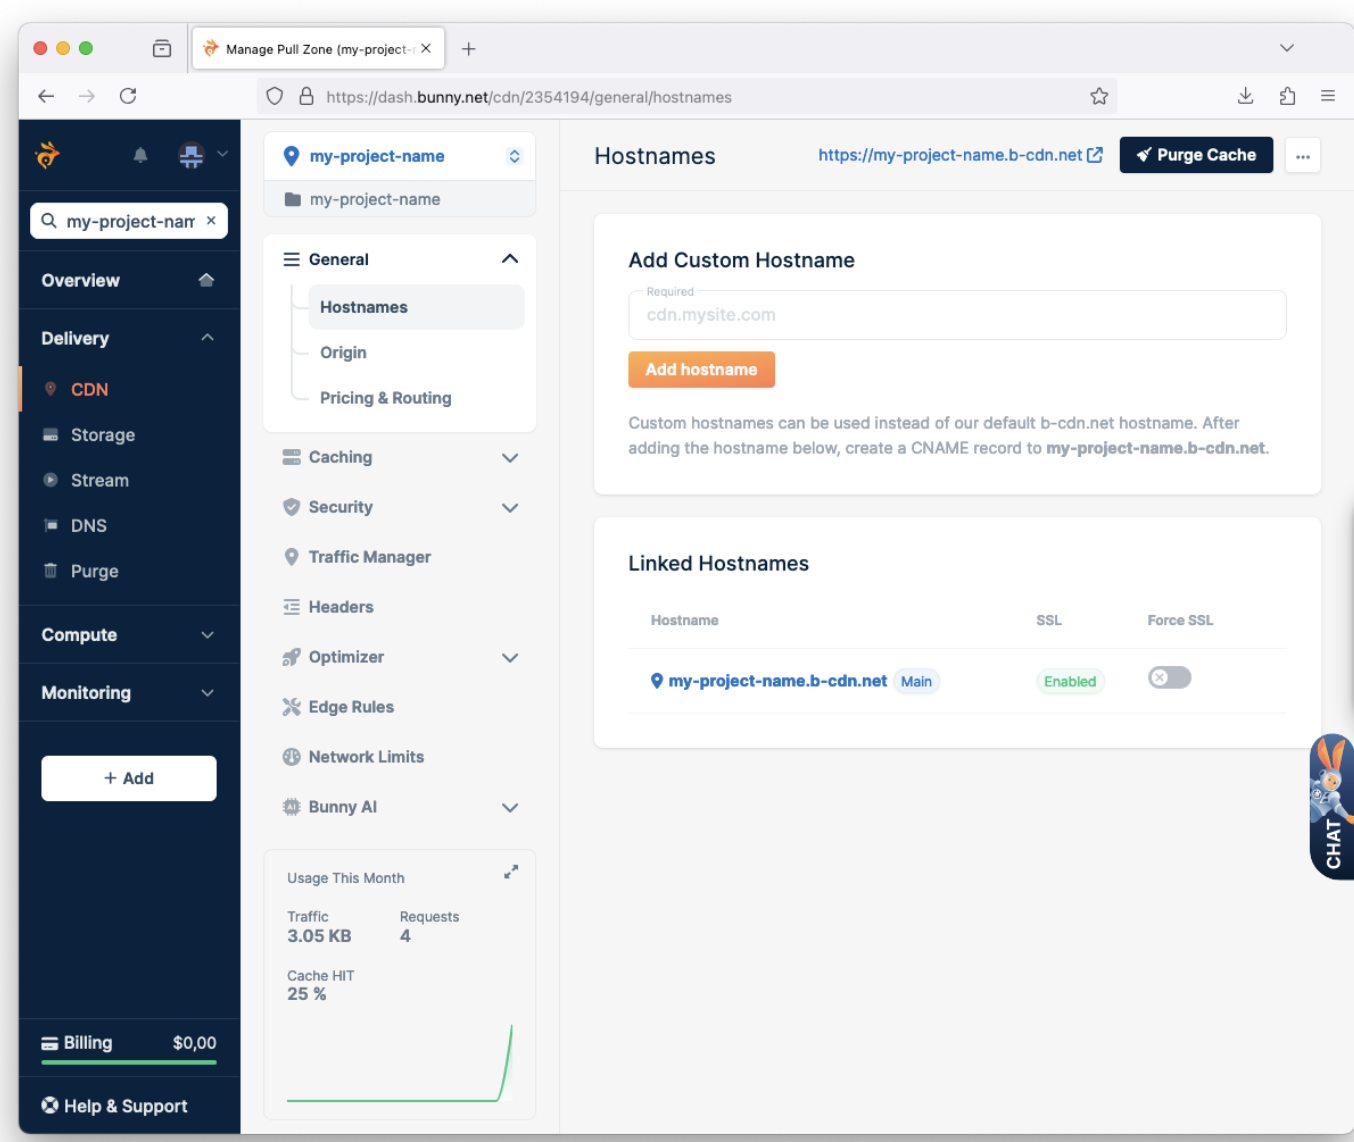
Navigate to your bunny.net dashboard to see your content being served:
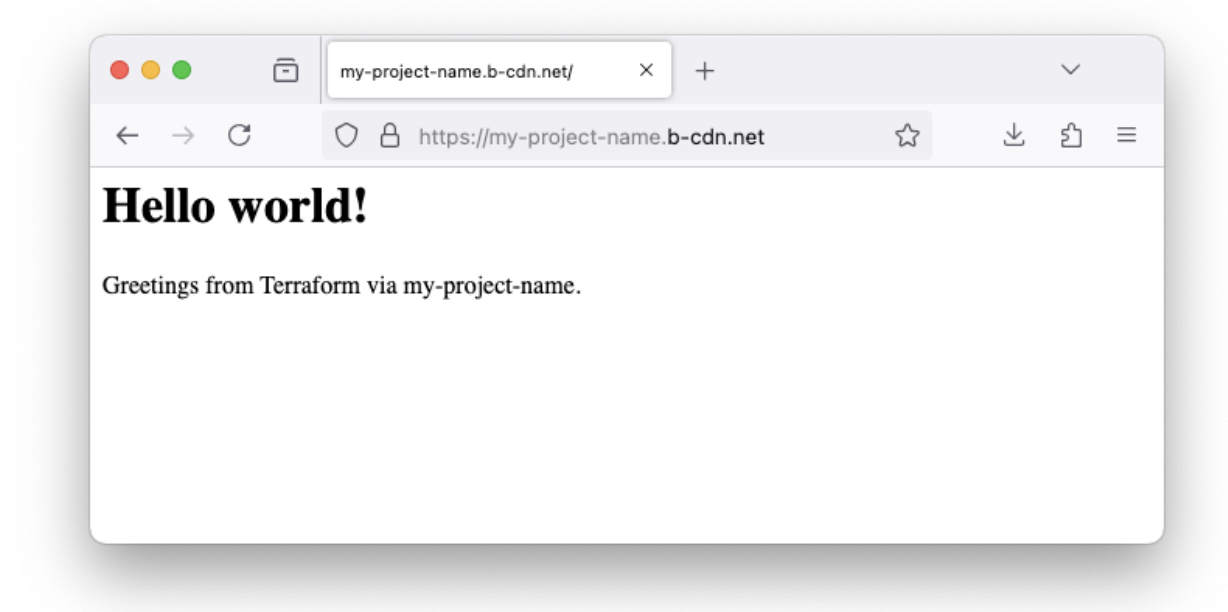
 Use your project URL for preview:
NoteFor more detailed configuration examples and advanced usage, please visit our bunny.net terraform documentation.
Need help or encountered issues?
If you encounter any difficulties or have questions while following this guide, our support team is here to assist you. Please don't hesitate to contact us via the support request form for prompt assistance.
Our dedicated support team is ready to help you resolve any issues you might face during the deployment process, provide additional guidance, or answer your questions.
Updated 3 months ago
