Quickstart

A guide to get you hopping on Bunny Shield.

Protecting your web applications from malicious traffic is crucial in today's digital landscape. Bunny Shield offers a solution to safeguard your website by filtering out unwanted traffic and providing detailed logs for analysis. This quickstart guide will walk you through the initial setup of a Shield Zone and how to review and adjust your Web Application Firewall (WAF) settings.

What you’ll need

Before you dive in, make sure you have the following prerequisites in place:

  • A bunny.net account ( Log in or sign up for a free trial).
  • An existing Pull Zone you want to protect.
  • Your AccessKey or JWT for API authentication.

Creating a Shield Zone

To get started, you'll need to create a Shield Zone. This is where all your Bunny Shield settings and configurations reside. The Shield Zone is then associated with the Pull Zone you wish to protect.

  1. Click on the Get Started button.

  1. Select a WAF Profile and click Next Step, using a WAF Profile reduces the potential for false positives for your web application.
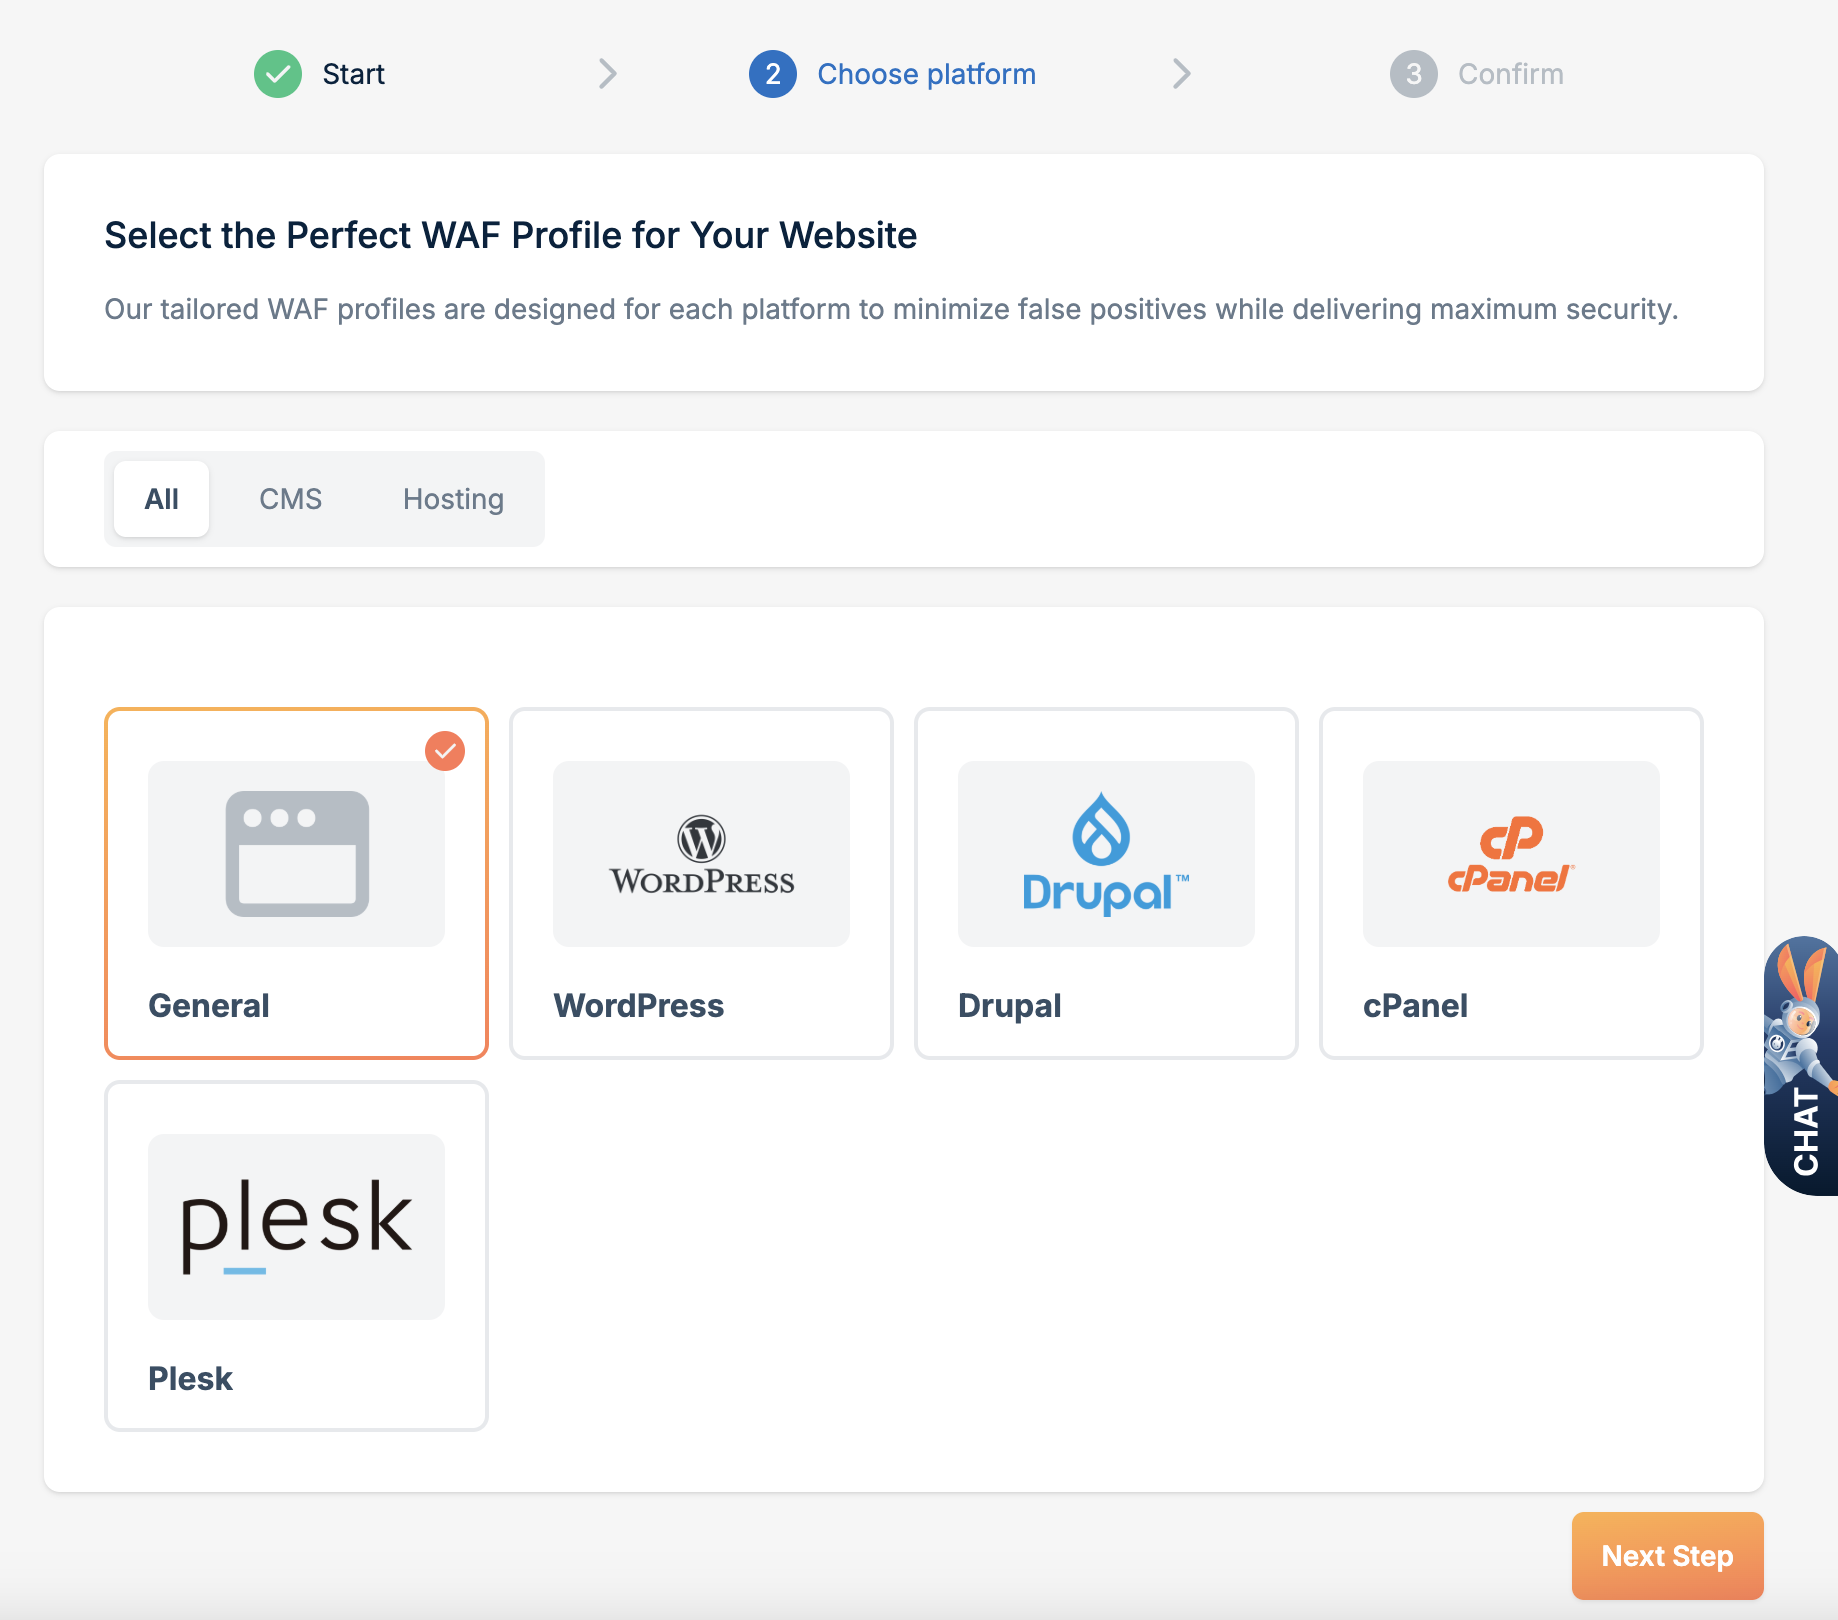
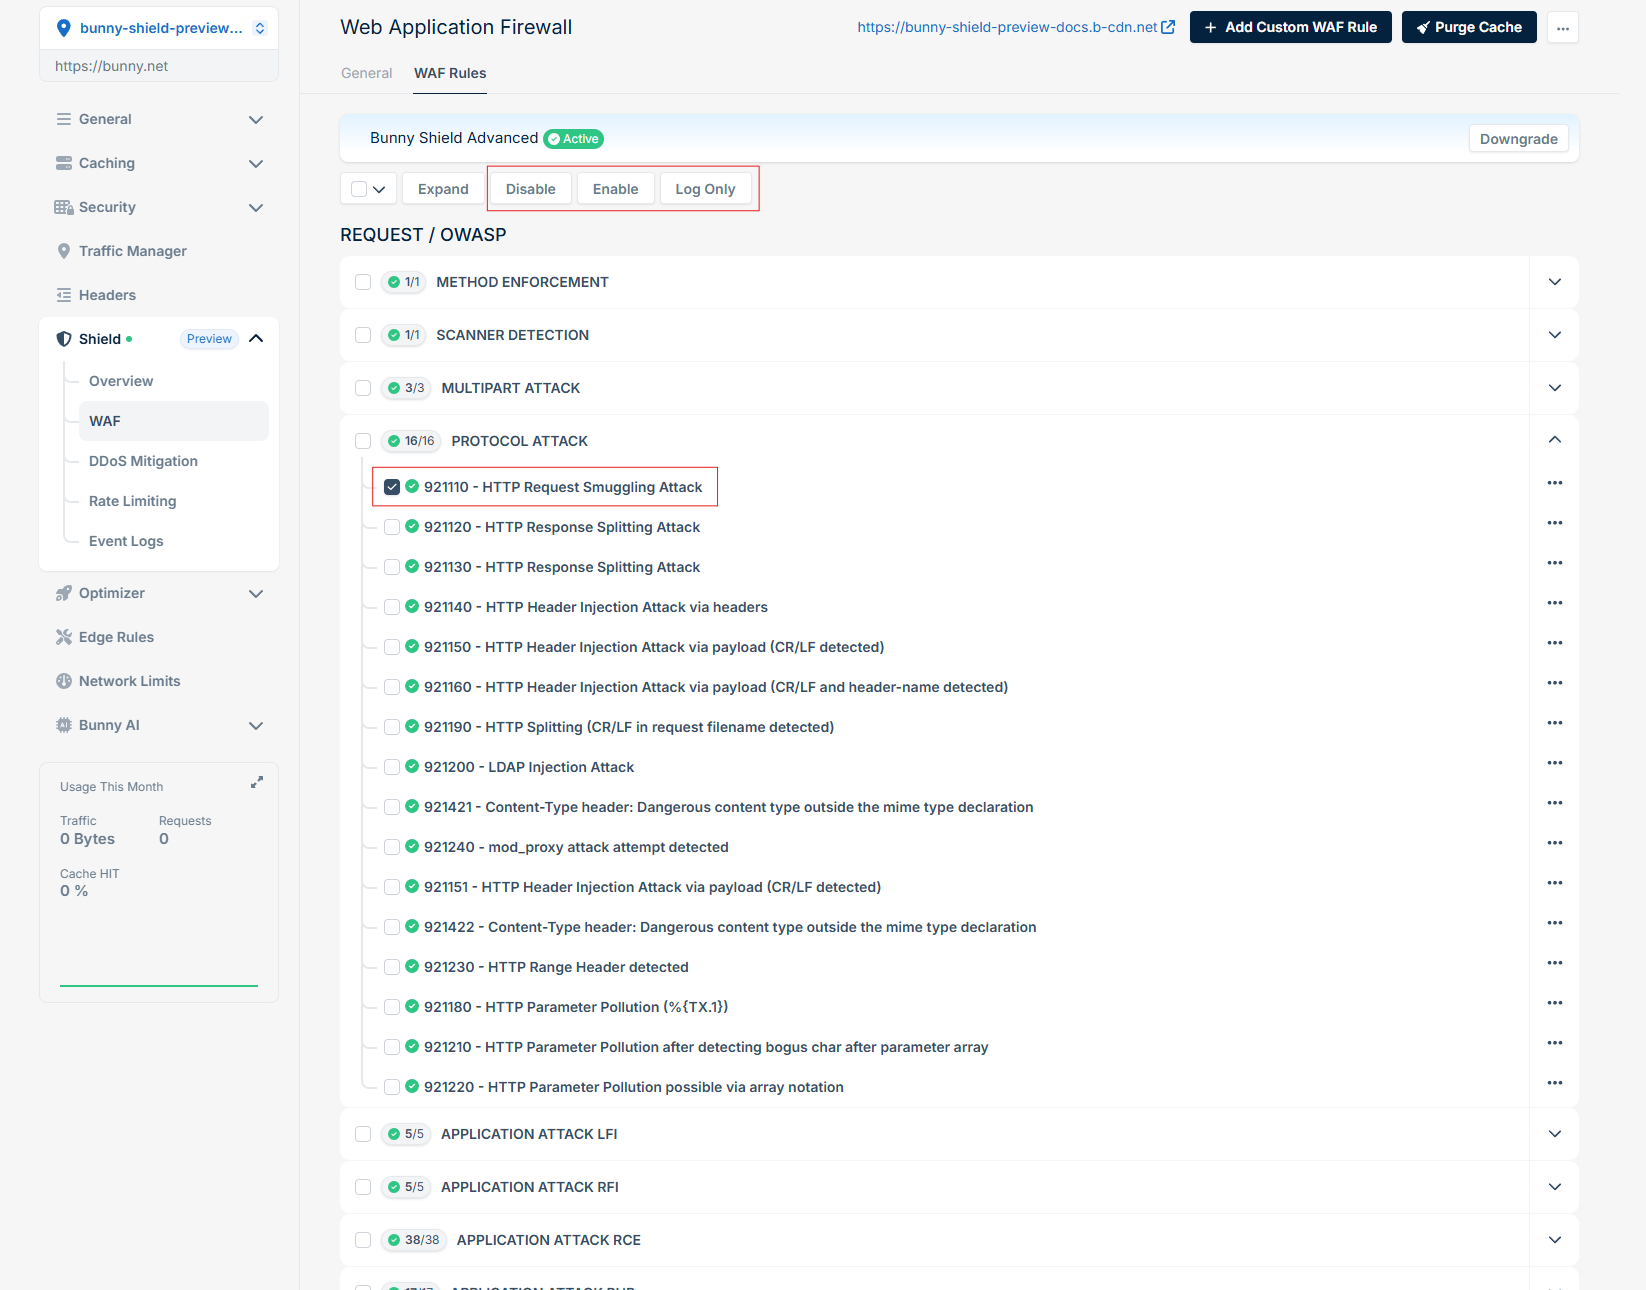
  1. Ensure you have choosen a plan that fits your needs, and then click Confirm.


Reviewing Logs

After reviewing the Event Logs, if you see any false positives you can update the specific rule to be logging only, or disable it via WAF -> WAF Rules, as pictured below.

Need help or encountering issues?

If you encounter any difficulties or have questions while following this Quickstart Guide, our support team is here to assist you. Please don't hesitate to contact us via support request form for prompt assistance.

Our dedicated support team is ready to help you resolve any issues you might face during the deployment process, provide additional guidance, or answer your questions.