1
Configure your container and upload some blobs
Set up an Azure Storage container and upload some data, following Microsoft’s quickstart.
2
Get the container URL and create a Pull Zone
Click the three dots to the right of your file, then select Blob Properties.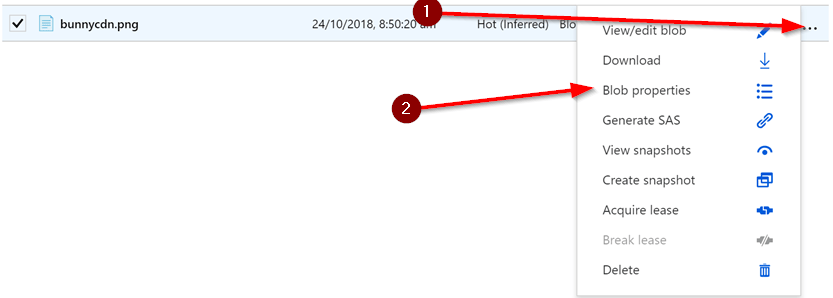


3
Test your Pull Zone
Once the configuration has synced to the edge network, request a file through your Pull Zone hostname, for example:If the file is served, Bunny CDN is caching content from your container. Replace your container URLs with the Bunny CDN URLs in your application to start serving cached content.