1
Configure your OVH storage container and upload some files
If you don’t already have an OVH Public Cloud storage container, set one up following OVH’s guide. Bunny CDN works with both the Static hosting and Public container options.
2
Find your container URL
Once your container is created, copy the full container URL from the container page. This forms the basis of your Pull Zone, so you can append a file path inside the container to your Pull Zone hostname.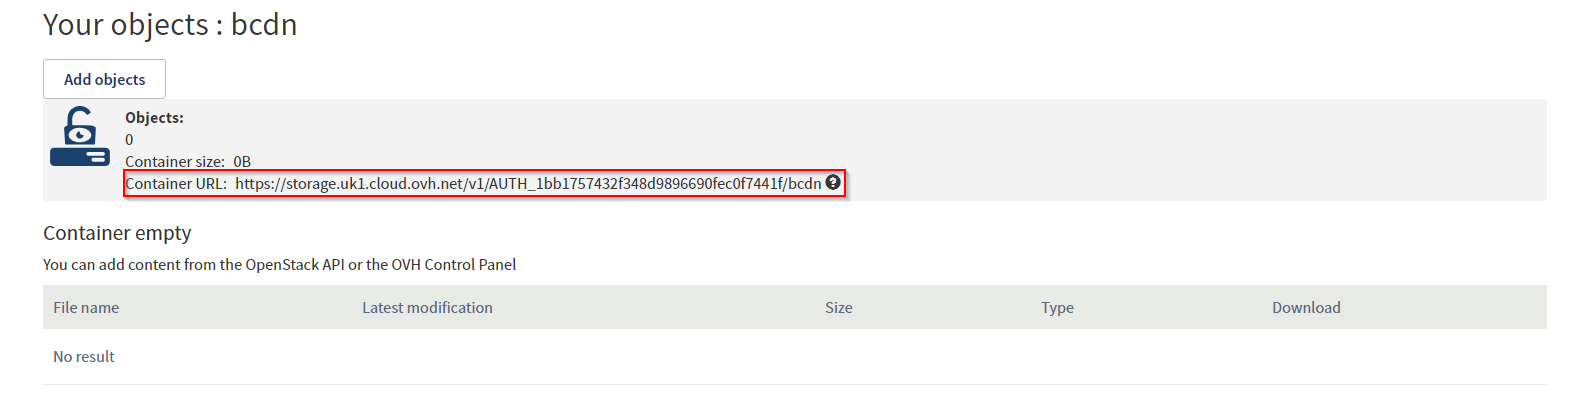
3
Create a Pull Zone
Log in to your bunny.net dashboard and create a new Pull Zone. Give it a name (this becomes your CDN hostname), paste the container URL into the Origin URL field, choose your pricing tier, and click Add Pull Zone. For details, see How to create your first Pull Zone.
4
Test your Pull Zone
Once the configuration has synced to the edge network, append a file name to your Pull Zone hostname, for example:If the file is served, Bunny CDN is caching content from your container. Replace your container URLs with the Bunny CDN URLs in your application to start serving cached content.