Prerequisites
- You must be the account owner or have the Manage users permission
Add a new team member
Navigate to Manage Team
Go to Account > Manage Team in your dashboard.
Click Add Team Member
Click the Add New Team Member button. If this is your first team member, you’ll see a Create Your First Team Member button.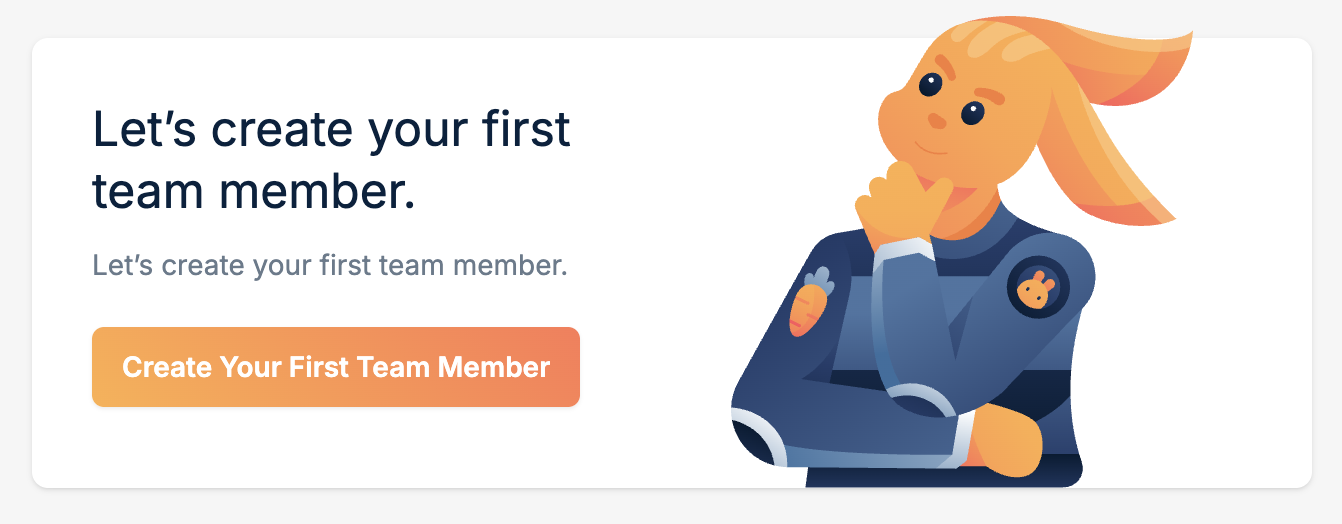
Enter login details
Fill in the required fields:
- First Name - The team member’s first name
- Last Name - The team member’s last name
- Email - The email address they’ll use to log in
Select permissions
Choose which areas of the dashboard the team member can access:
- Manage zones - CDN pull zones, storage zones, DNS zones, and Stream libraries
- Billing & legal - Billing information, invoices, and payment methods
- Support tickets - Create and manage support tickets
- Abuse center - View and respond to abuse cases
- Manage users - Add, edit, and remove other team members
After adding a team member
Once you’ve added a team member:- Share the temporary password with them securely
- They can log in at dash.bunny.net using their email and the temporary password
- They should change their password after their first login
Team members will only see menu items and features they have permissions for.
Items outside their permissions are hidden from their dashboard view.