Prerequisites
- WordPress 6.7 or higher
- PHP 8.1 or higher
The plugin will not appear in the WordPress plugin directory on earlier versions of WordPress or PHP.
Install the plugin
1
Open the plugin installer
Log in to your WordPress admin panel. Click Plugins in the sidebar, then click Add New Plugin.
2
Search and install
In the search box, type BunnyCDN. Find the BunnyCDN plugin in the results and click Install Now.
3
Activate the plugin
After installation completes, click Activate.
Configure the plugin
1
Open the plugin settings
In the WordPress sidebar, select bunny.net and click Login / Create Account.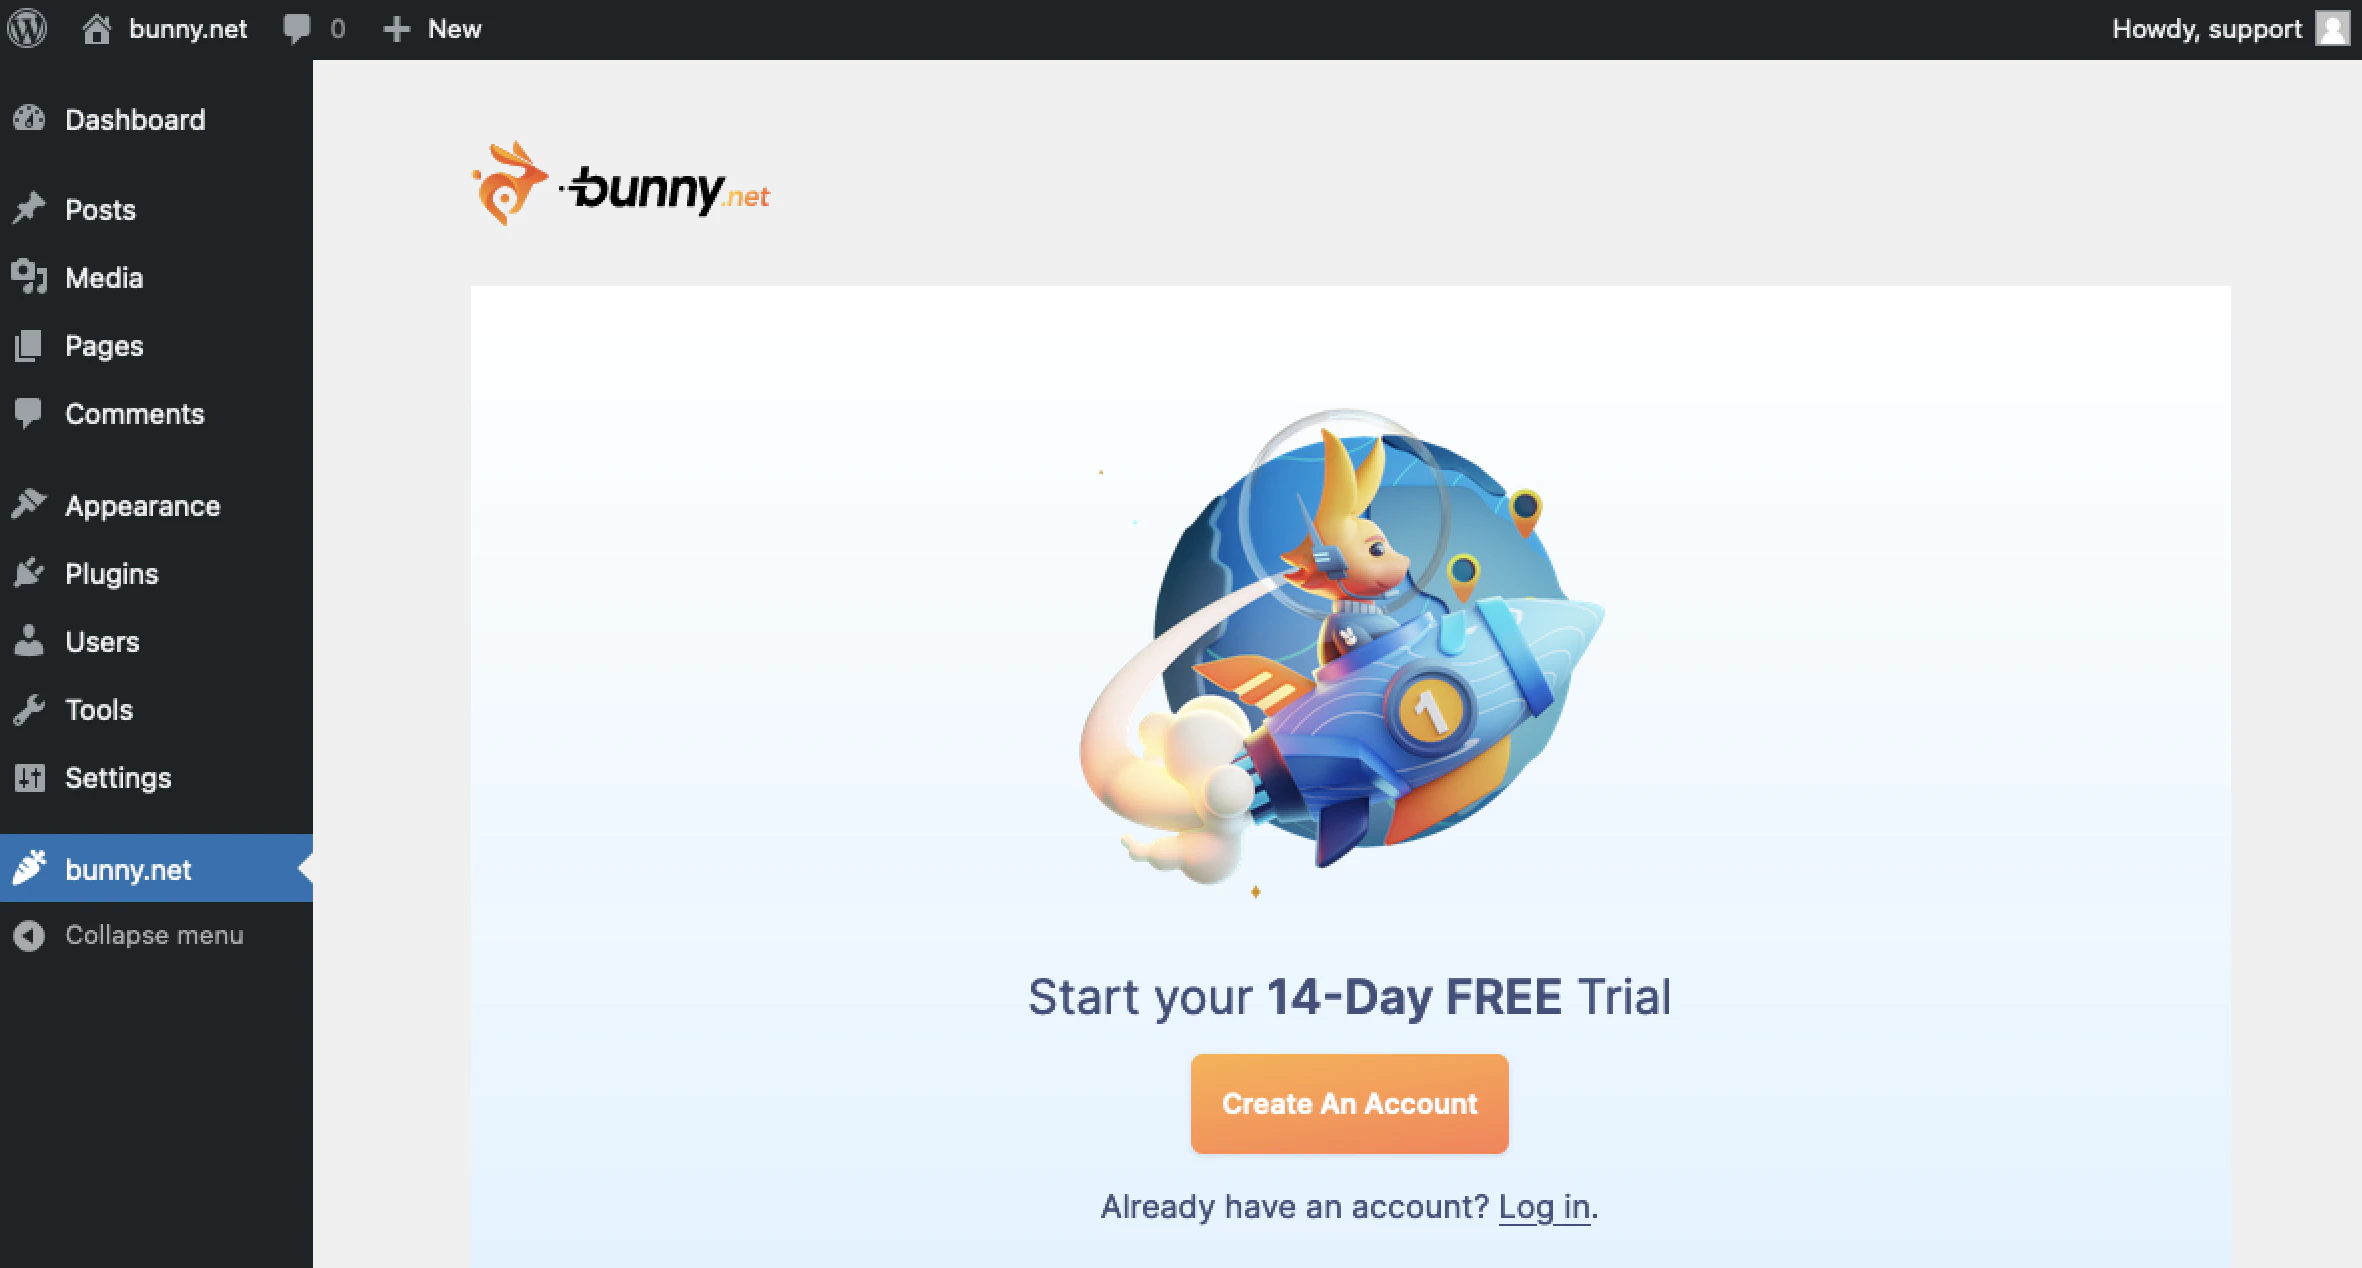
2
Connect your account
Create a new bunny.net account or log in with your existing credentials.
3
Run the Integration Wizard
After logging in, select Integration Wizard.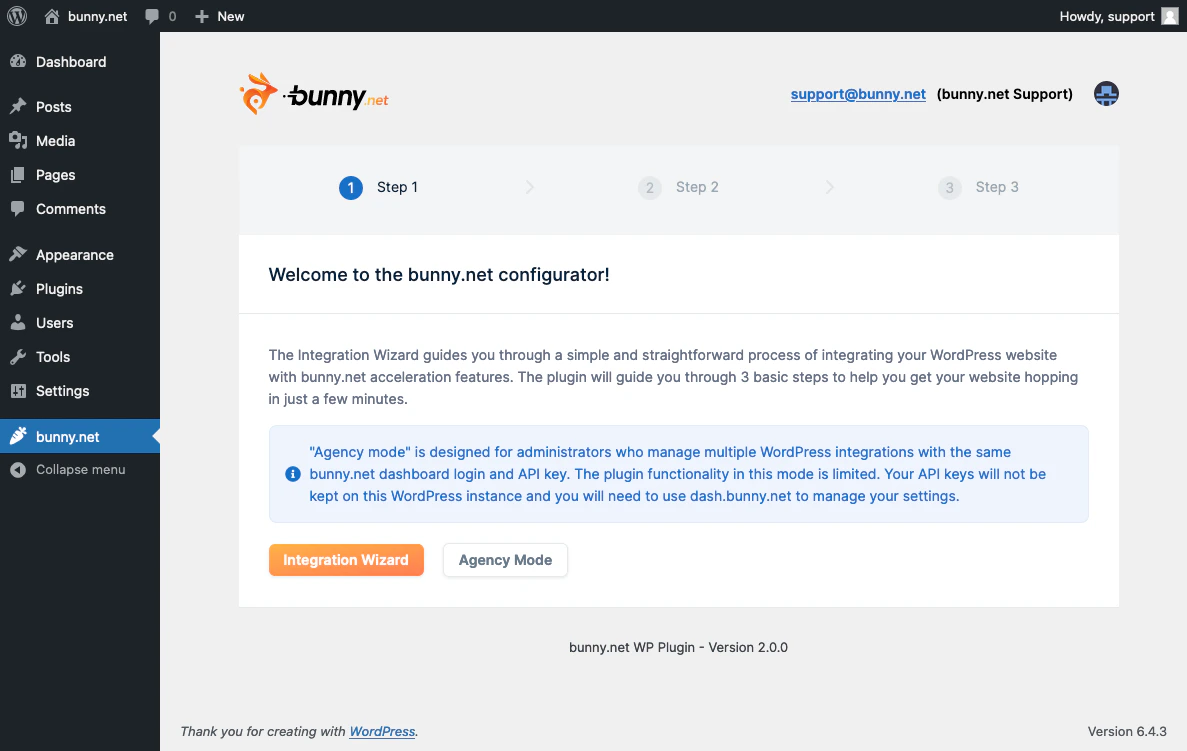
4
Confirm your URL
Enter the URL of your WordPress website and click Confirm URL. The wizard uses this URL to configure your CDN integration.
5
Select a Pull Zone
If your account already has a Pull Zone for this URL, you’ll be prompted to use the existing one or create a new one.
