Step 1: Copy Files from Bunny Storage
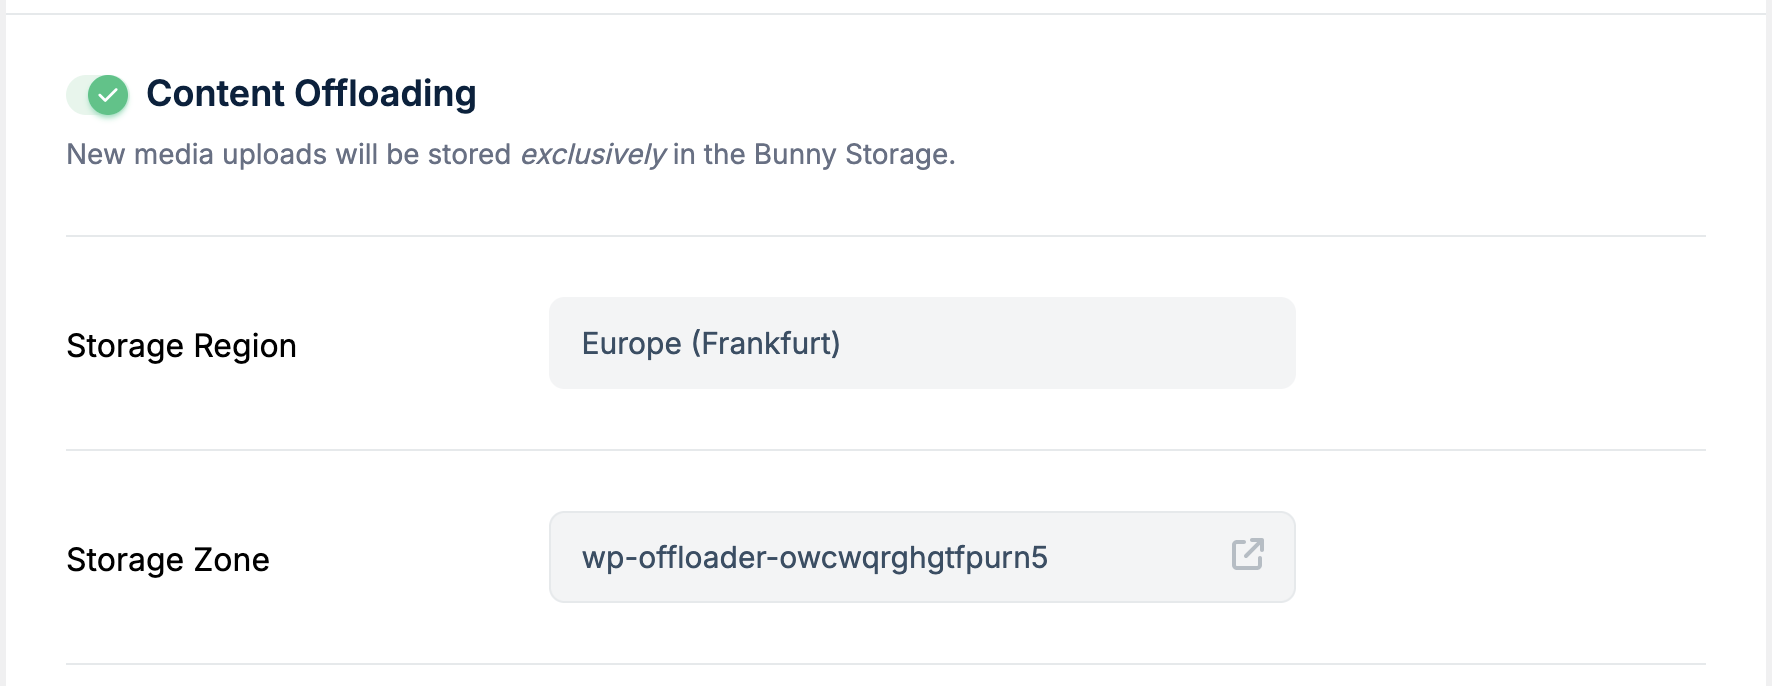
- In your WordPress Admin, go to the bunny.net → Offloader tab.
- Note the Storage Zone listed; this is where your offloaded files are currently stored.
- Download or transfer the files from the Storage Zone to your WordPress server. You can do this via FTP or by downloading from the Bunny.net Storage dashboard.
- Ensure you preserve the original directory structure so WordPress can correctly locate the files.
Step 2: Update the WordPress Database
Once files are back on your server, you’ll need to inform WordPress that these files are no longer offloaded. Run the following SQL query (using phpMyAdmin or your preferred database tool) to remove the offload markers:_bunnycdn_offloaded meta entries that tell WordPress the file is stored externally.
The name of the
wp_postmeta table may vary depending on the table prefix used in your WordPress installation. While the postmeta suffix remains the same, the prefix (e.g., wp, wp3c_) may differ, resulting in names like wp3c_postmeta.To confirm your prefix, check your database using phpMyAdmin, WP-CLI, or by listing the tables directly.Verify Your Changes
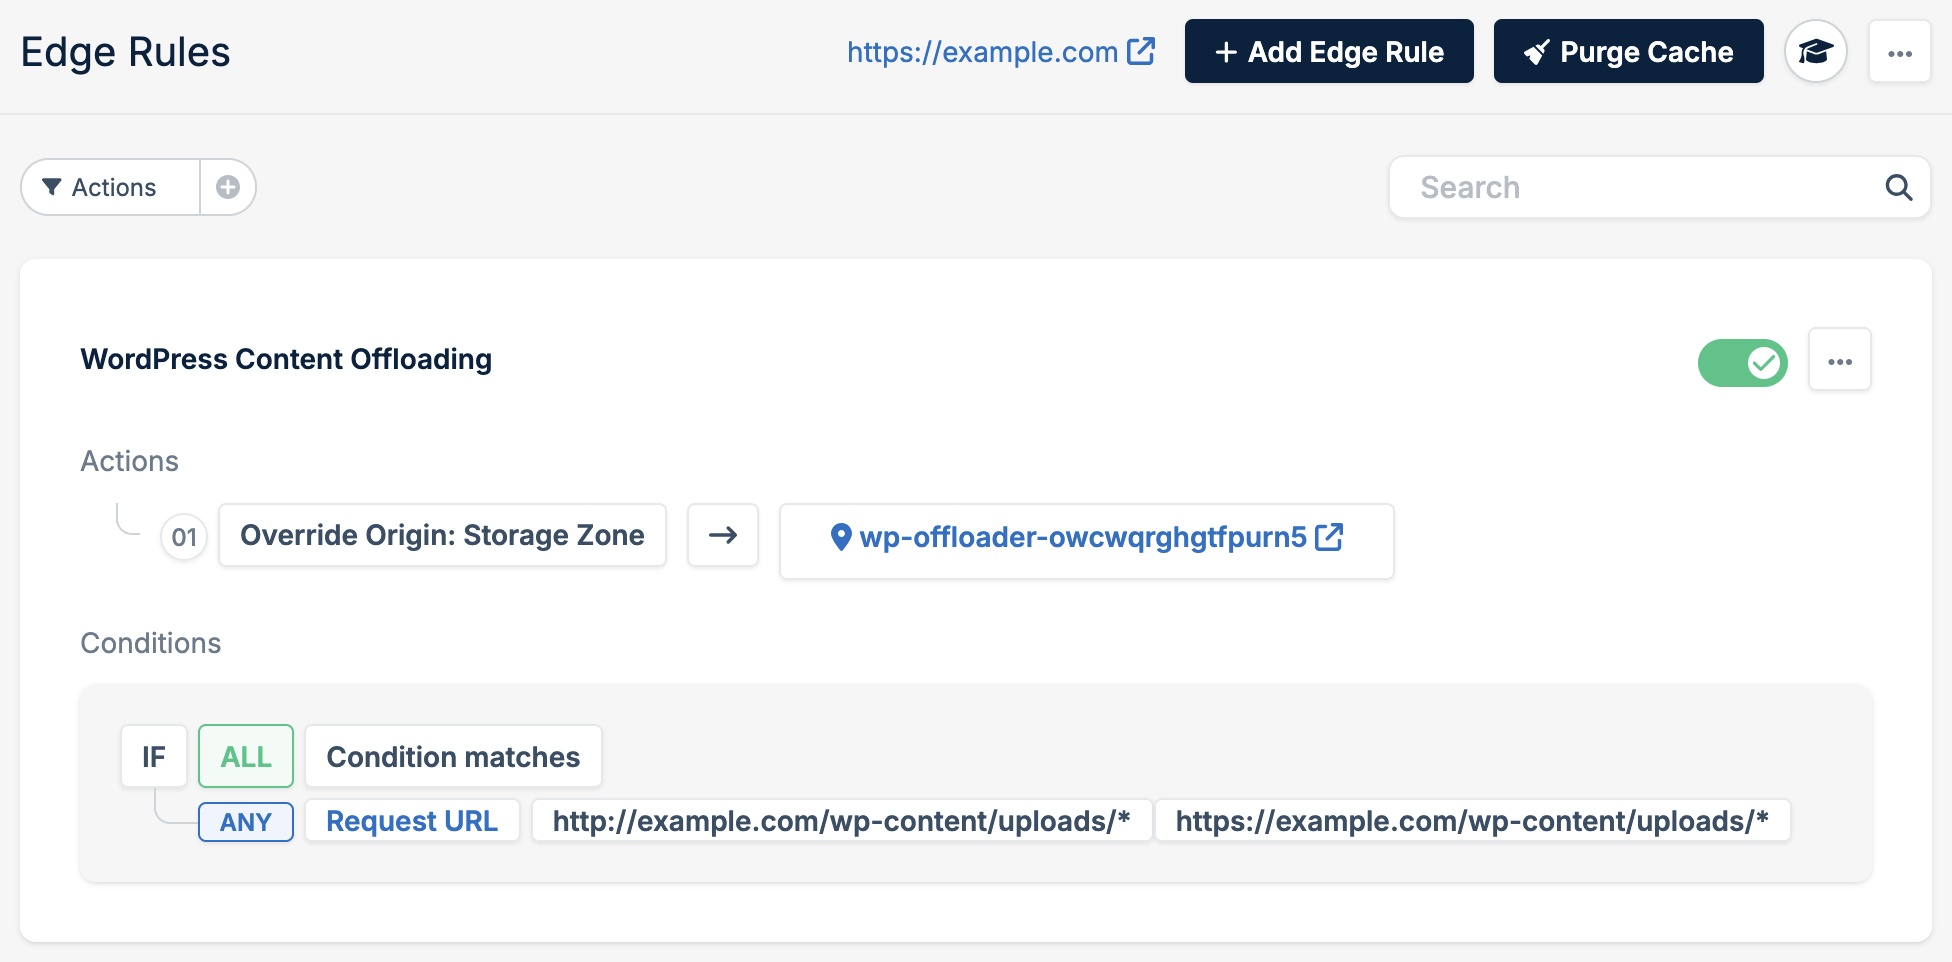
If you’re no longer using Bunny DNS: Verify that your media files load correctly. If everything works, you can delete the Storage Zone to stop recurring charges. If you’re still using Bunny DNS: Your files may still be served from the Storage Zone. To test if they now load from your server:- Disable the Edge Rule called WordPress Content Offloading.
- Purge the cache for your Pull Zone.