Why use Image Classes?
Instead of this:- Consistent transformations across your site
- Easier to update styles (change the class, not every URL)
- Improved cache hit rates
- Enhanced security with forced transformation classes
Creating Image Classes
1
Navigate to Image Classes
Navigate to Optimizer → Image Classes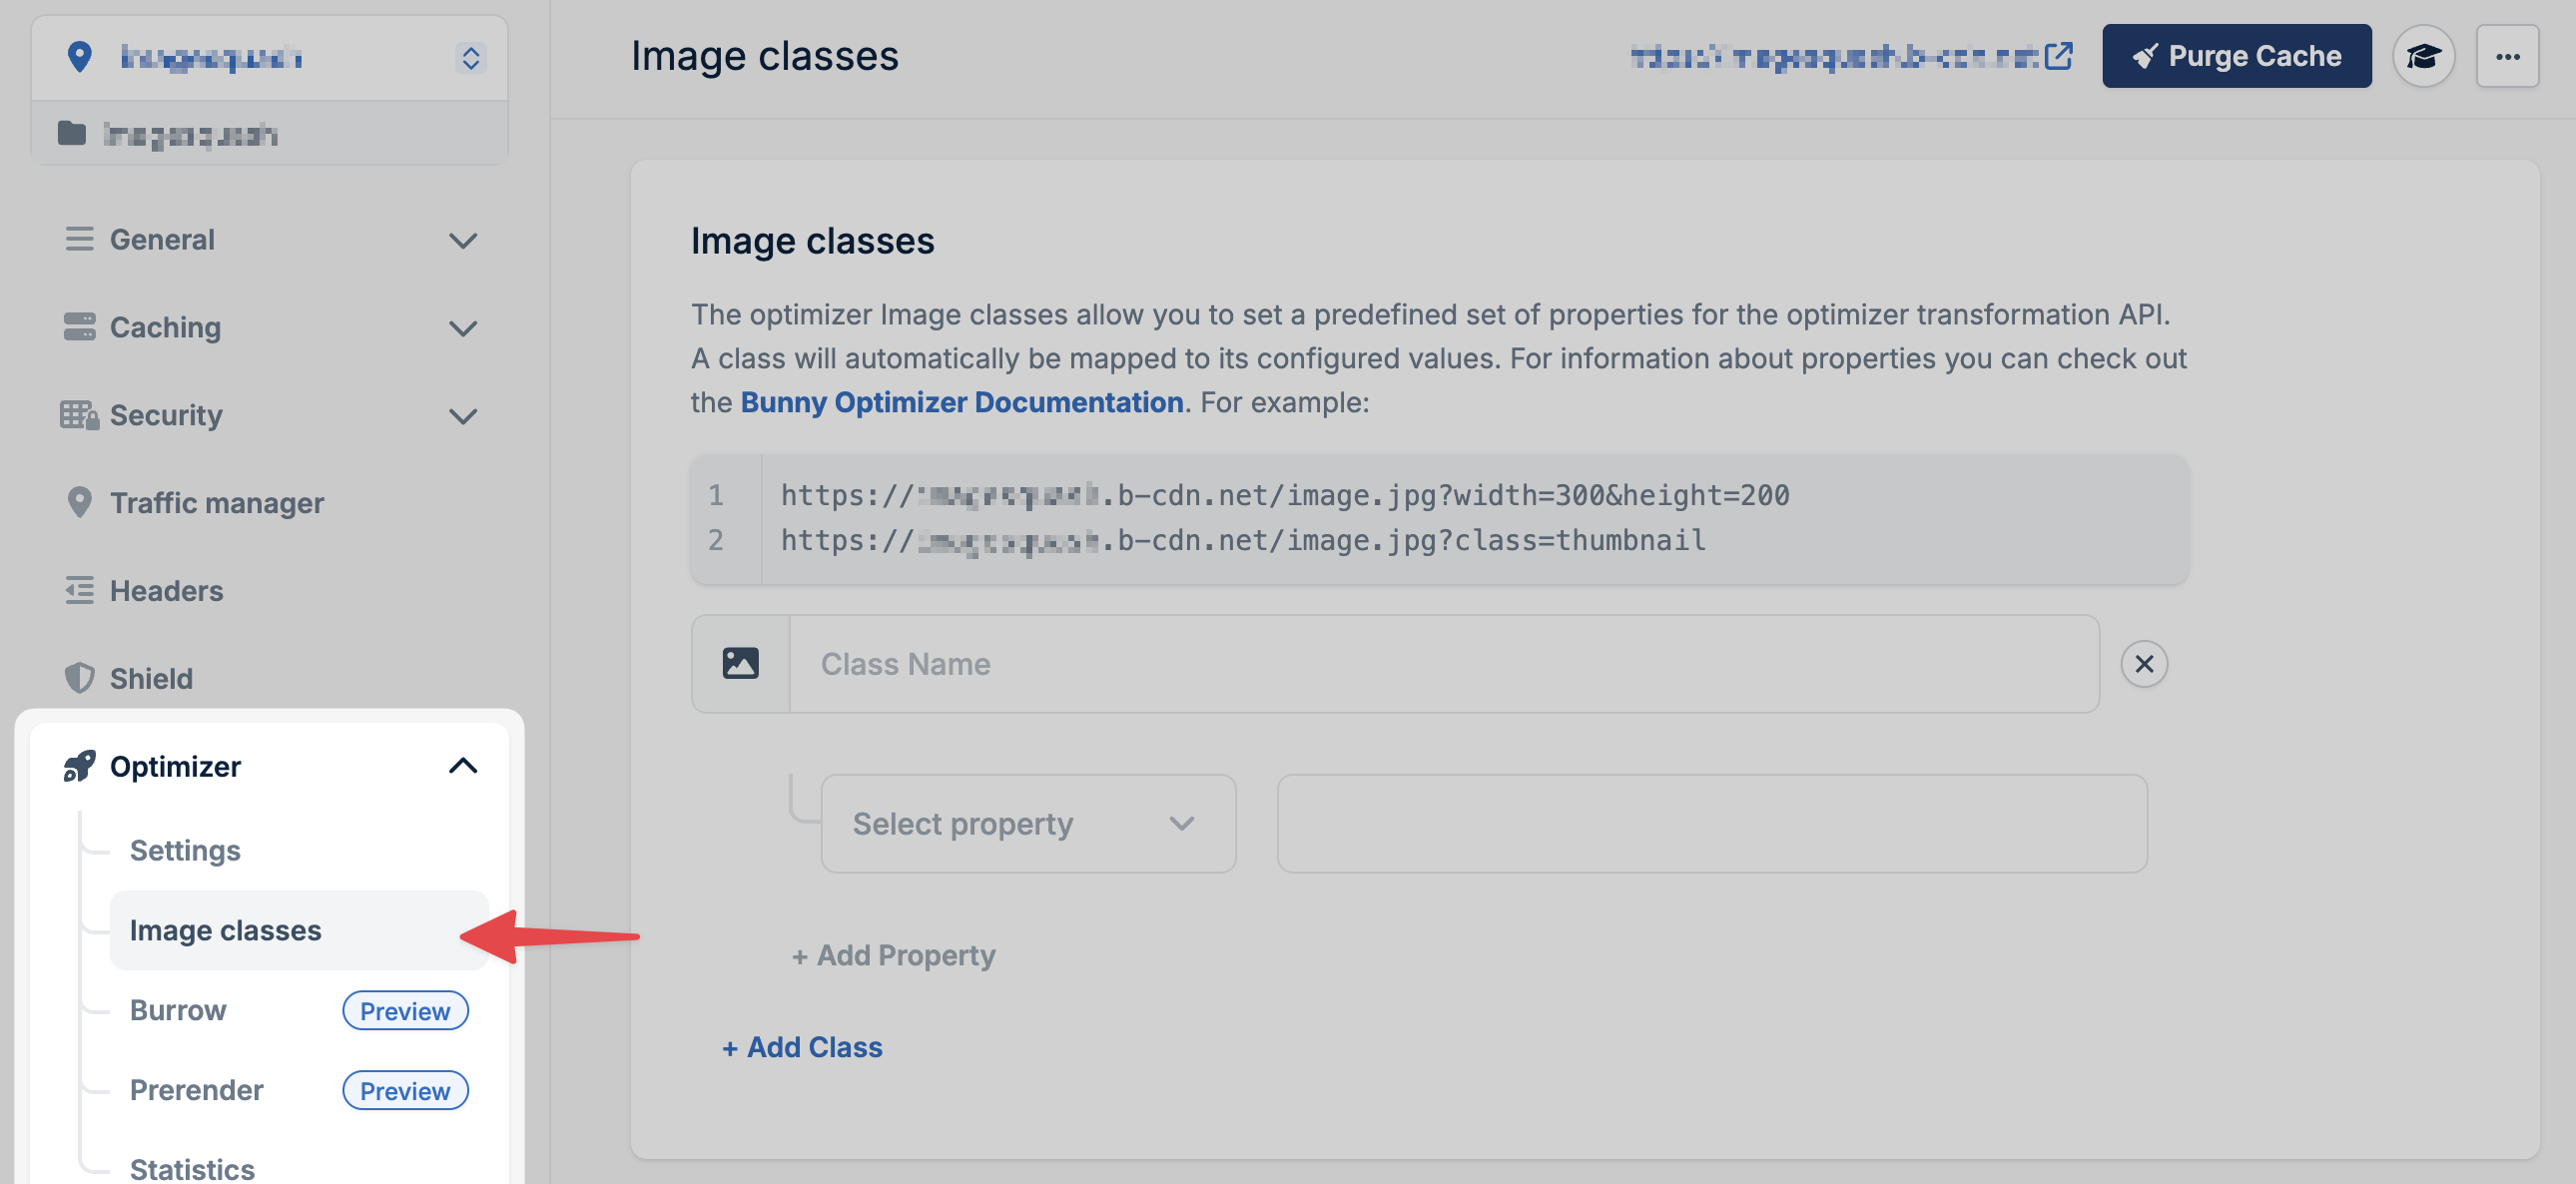
2
Define your class properties
Configure the transformation settings for your image class: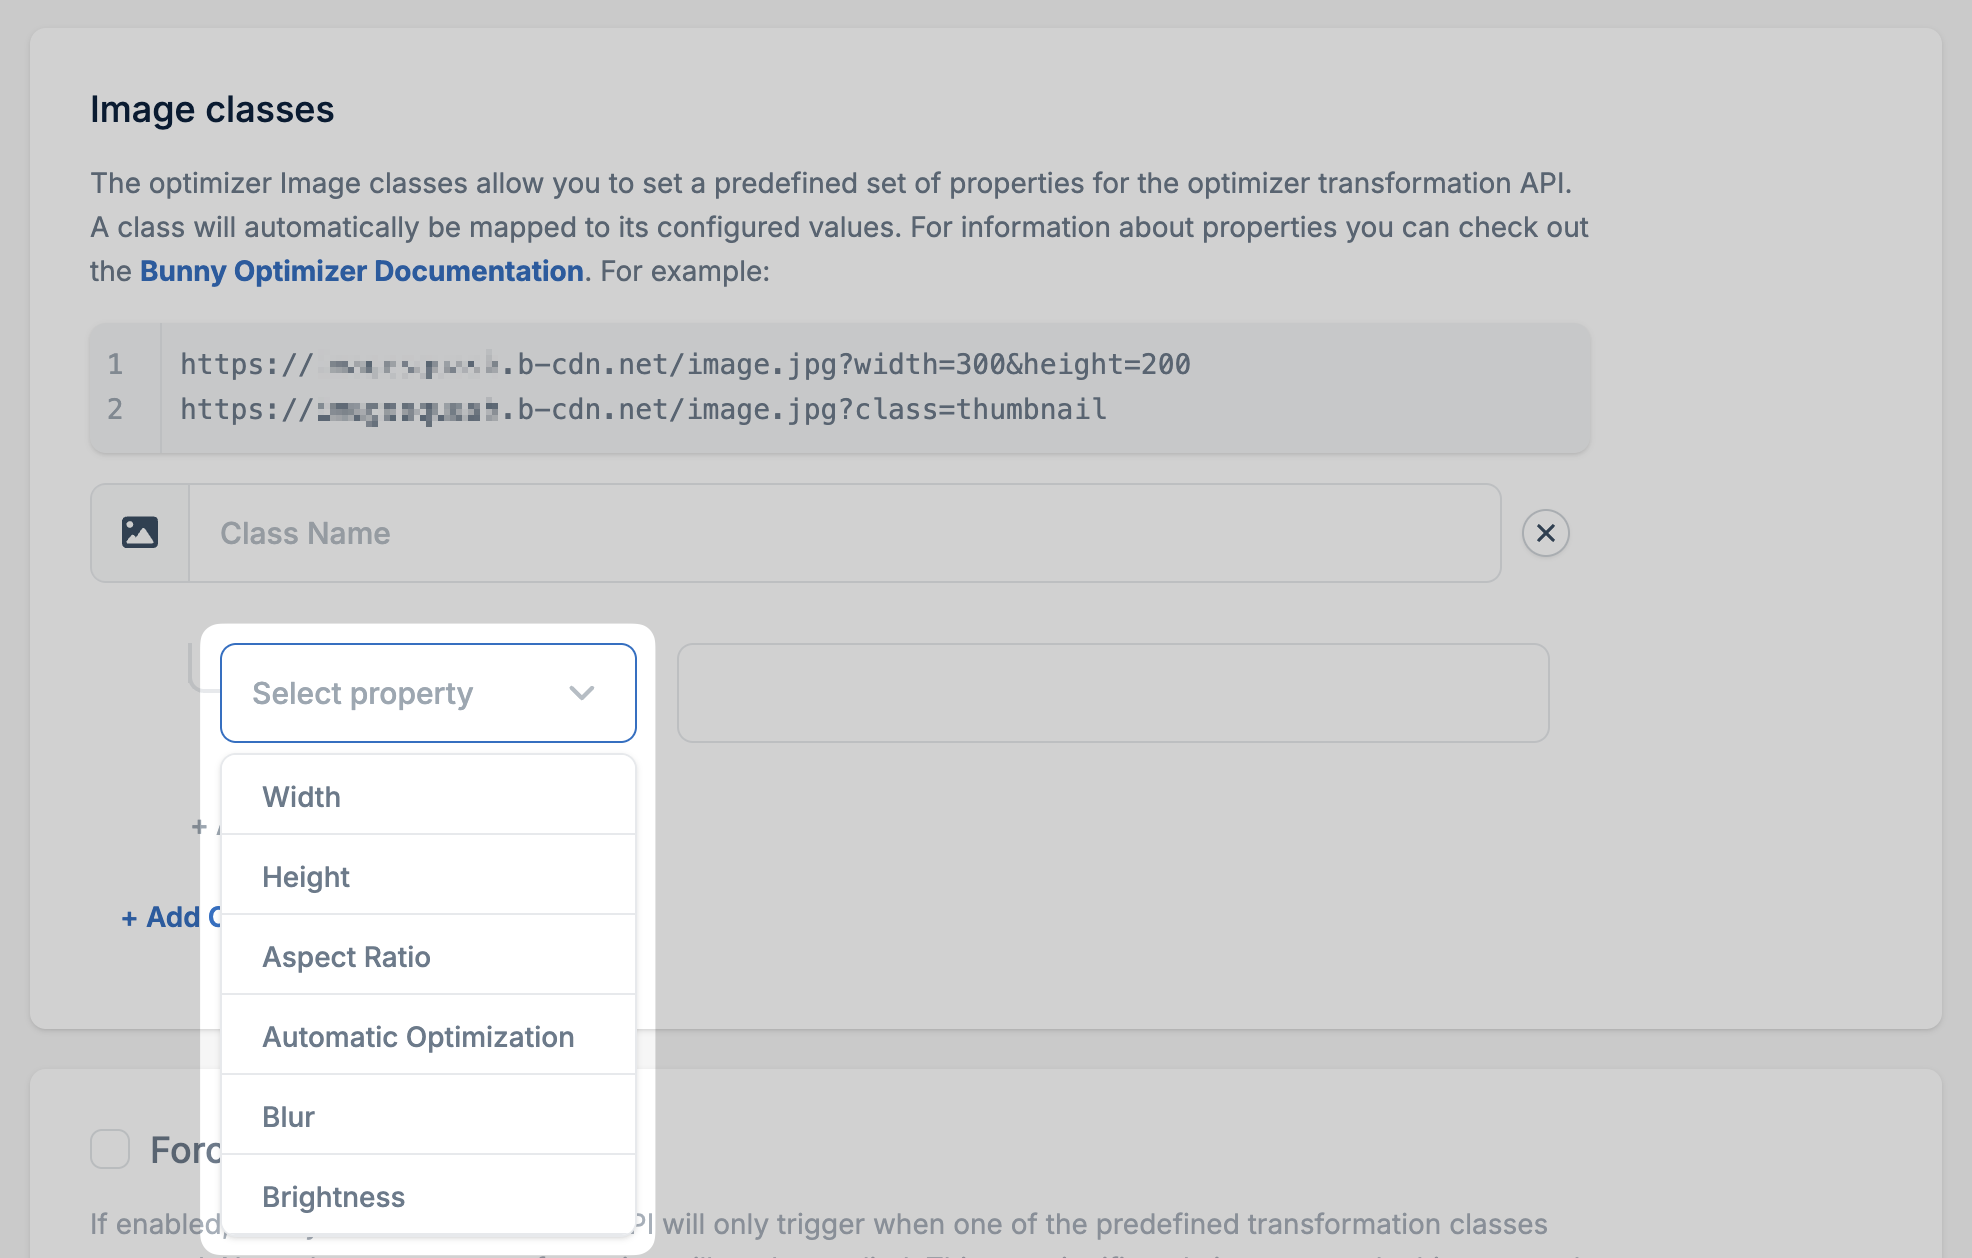
- Width, height, aspect ratio
- Quality settings
- Filters and effects
- Any Dynamic Images API parameter
3
Save the class
Save the class with a memorable name that describes its purpose (e.g.,
thumbnail, hero, product-mobile).Forced transformation classes
Enable this option to restrict the Dynamic Images API to only use predefined classes:- Improves cache efficiency (fewer unique transformations)
- Prevents arbitrary transformations (security benefit)
- Returns 403 for invalid or missing classes