Create a new DNS Zone
In the bunny.net dashboard, go to DNS and click Add DNS Zone, or select it from the + Add sidebar launcher.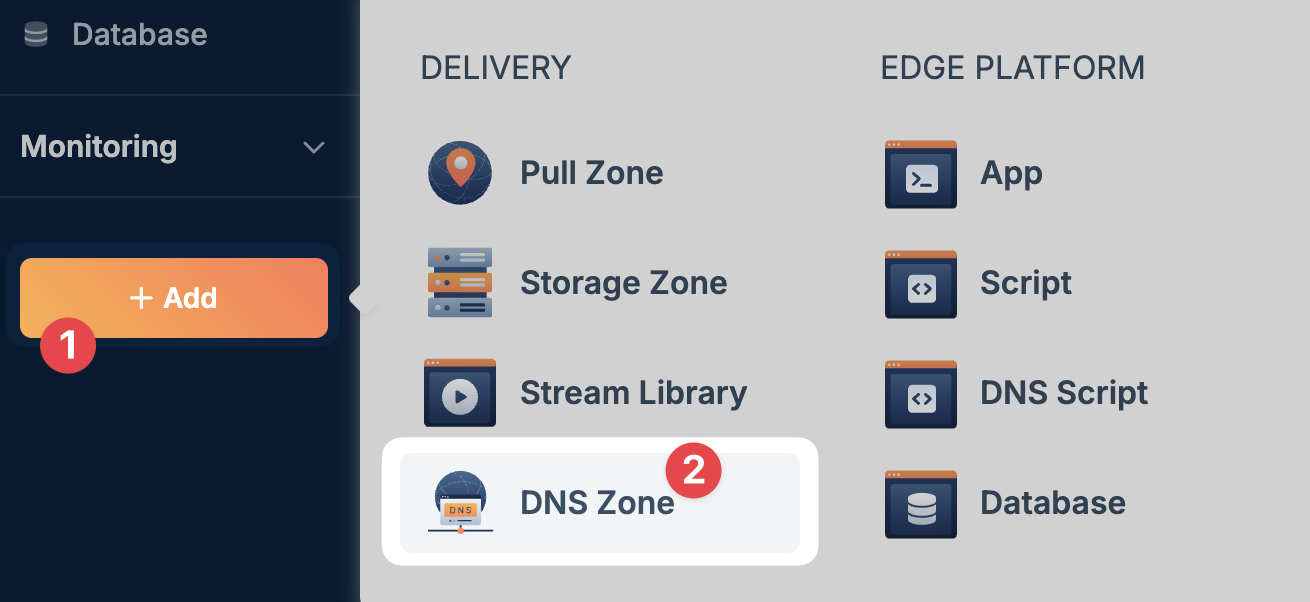
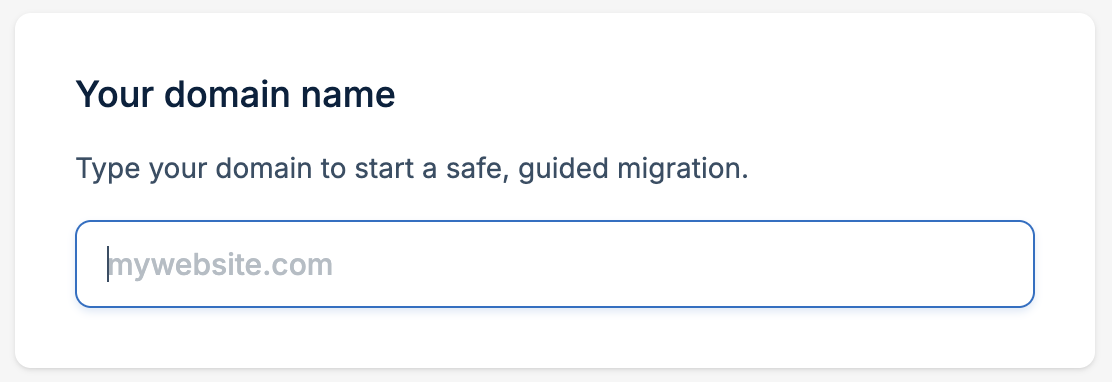
Import records
Now that you’ve entered your domain, you can import any existing DNS records.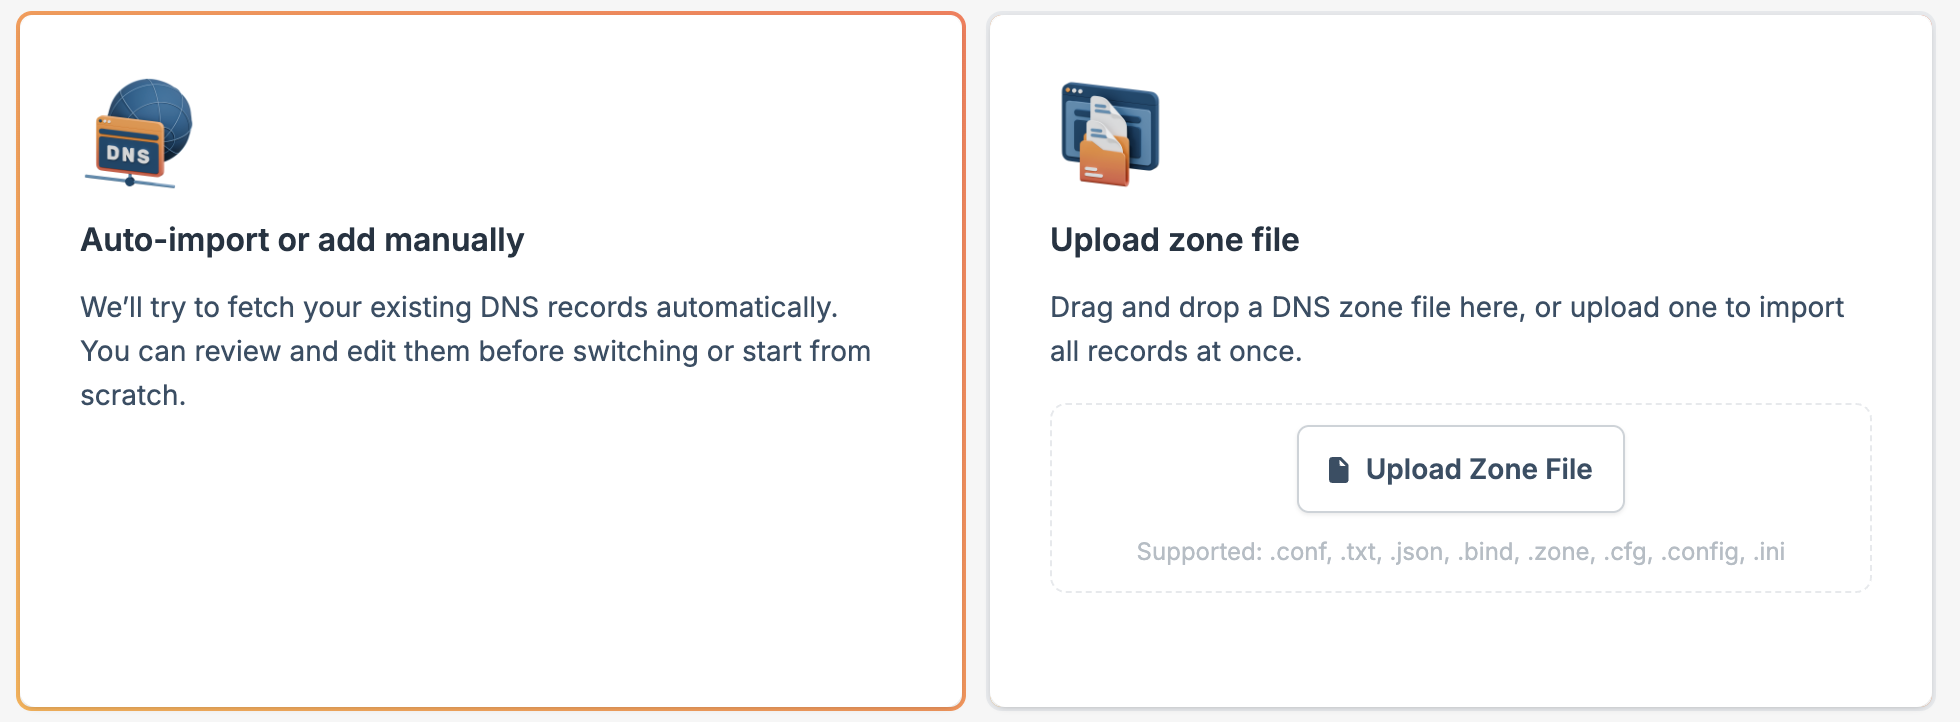
- Auto-import or add manually
- Upload Zone File
Select this option to have Bunny DNS scan and fetch your existing DNS records automatically. You can review and edit them before switching, or start from scratch.The scanning process can take several minutes depending on your domain’s complexity.
Review your records
After scanning or importing, review your DNS records carefully: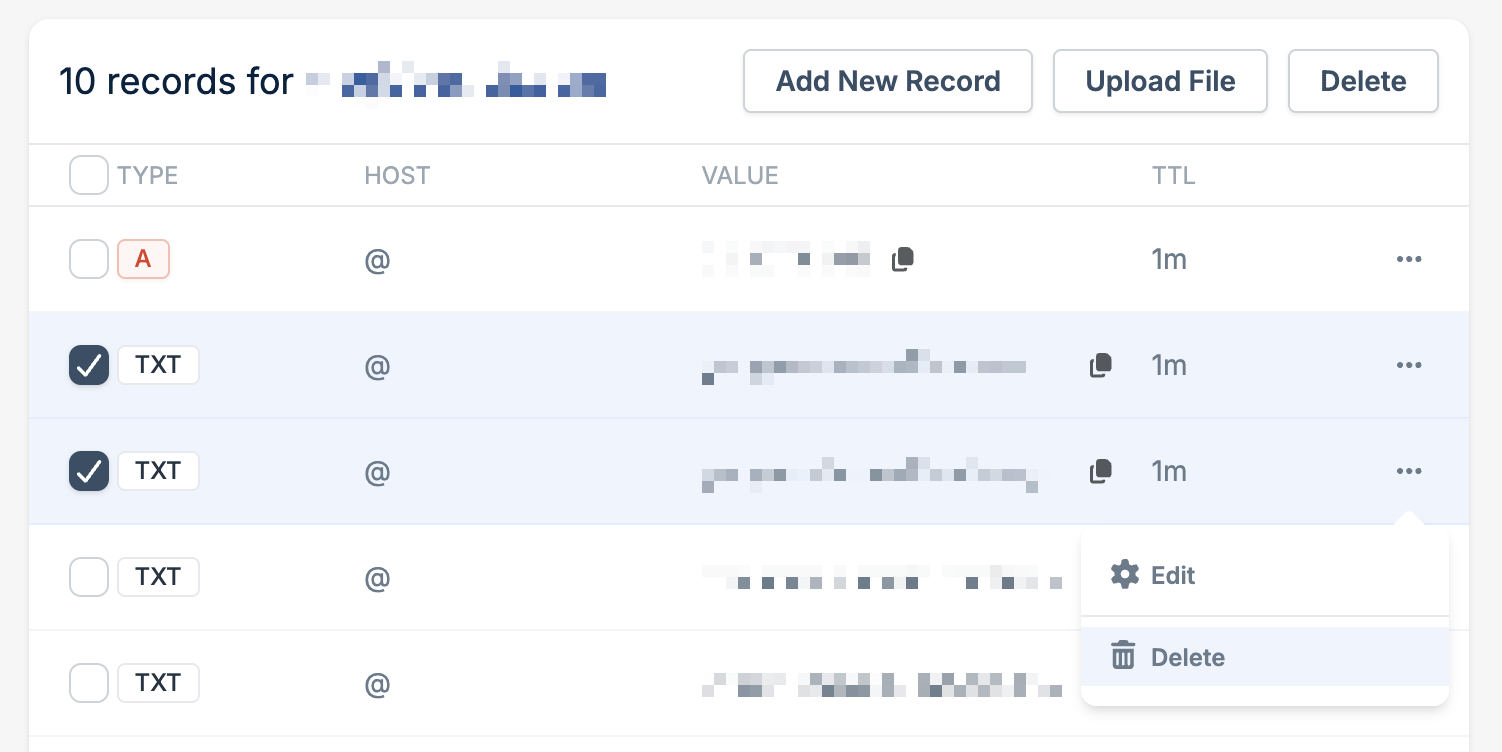
- Compare detected records with your current DNS provider
- Add any missing records that weren’t detected
- Remove or modify records as needed
- Check that critical records like MX (email) and CNAME entries are correct
Confirm and add
Once you’ve verified your records, choose how to proceed: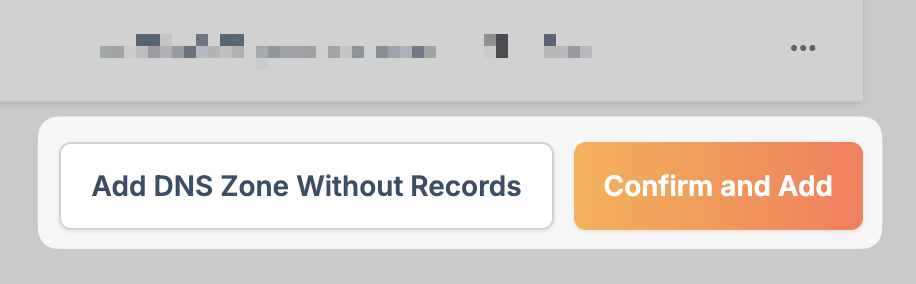
- Confirm and add creates the DNS Zone with your imported or configured records
- Add DNS Zone without records creates an empty DNS Zone that you can populate manually
Update your nameservers
After creating your DNS Zone, update your domain’s nameservers at your domain registrar to point to Bunny DNS:
kiki.bunny.netcoco.bunny.net
DNS propagation can take up to 48 hours, though changes typically take effect within a few hours.
Next steps
Your DNS Zone is now active. From here you can:
Manage DNS Records
Add, edit, and configure DNS records for your domain.
Enable DNSSEC
Protect your domain from spoofing and tampering.
Scriptable DNS
Write JavaScript to dynamically respond to DNS queries.
View Statistics
Monitor DNS query traffic and patterns.